

How to add Skeleton Loading to your React Project
Learn how companies are implementing this modern loading animation


When loading into websites nowadays, there's a good chance you will see a loading animation that looks like a light-colored outline of the data that's about to be displayed. In this guide, I will explain to you step-by-step, how to create these animations and implement them into your React app. I am going to cover two methods to do this, using a UI framework and creating the skeleton elements yourself.
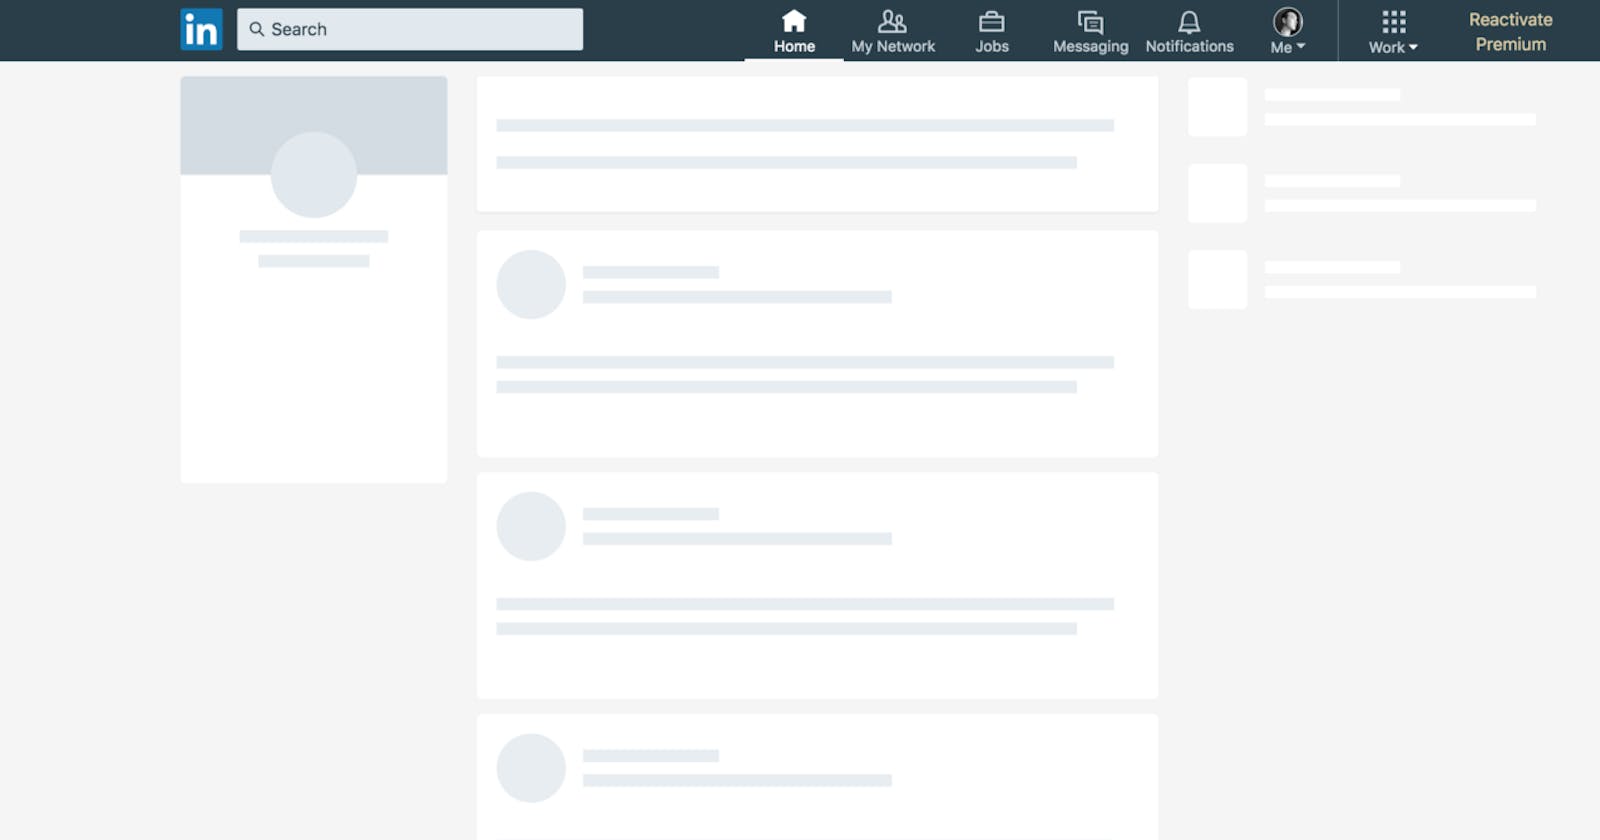
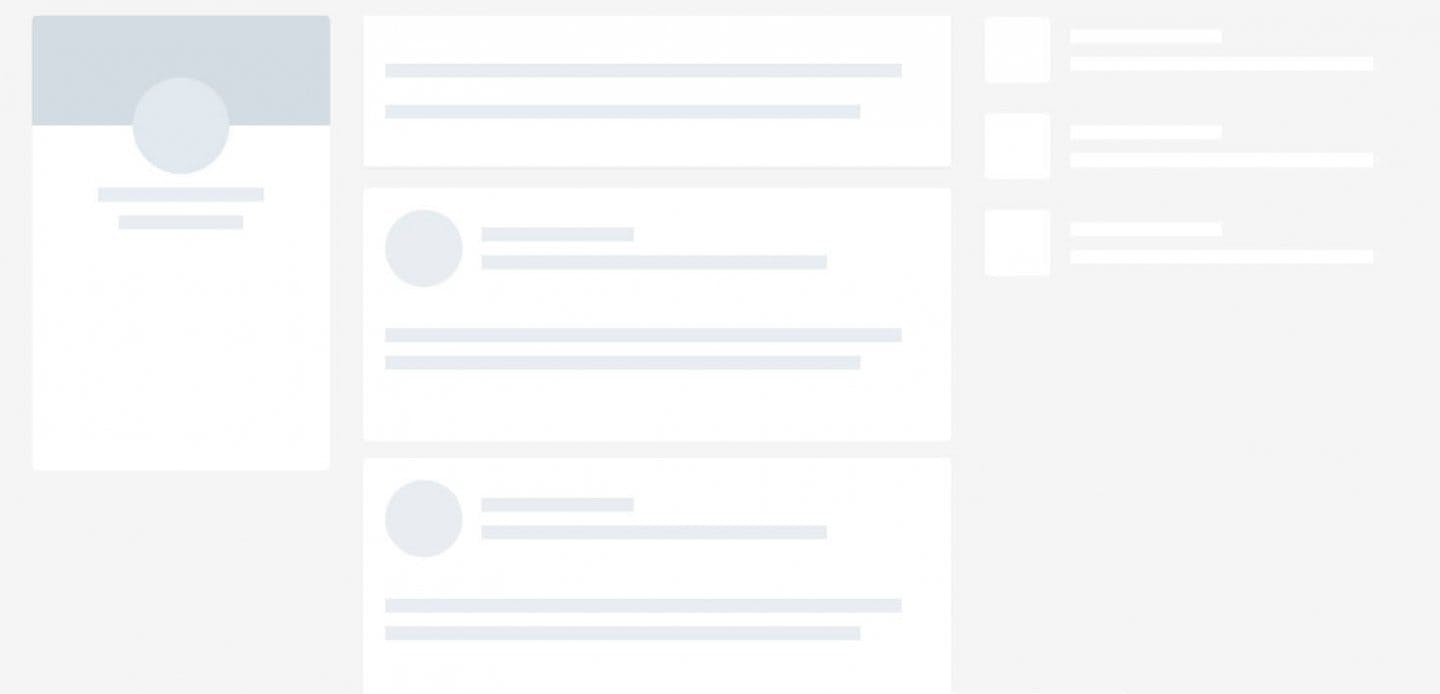
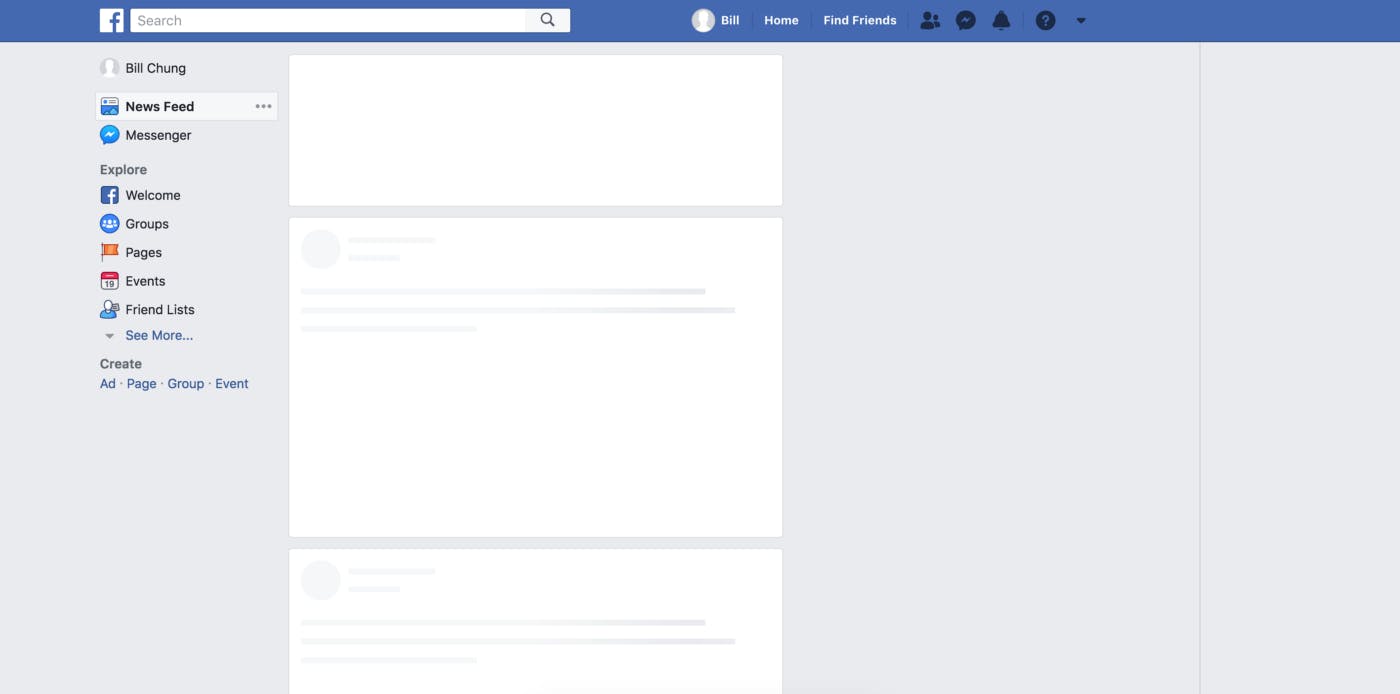
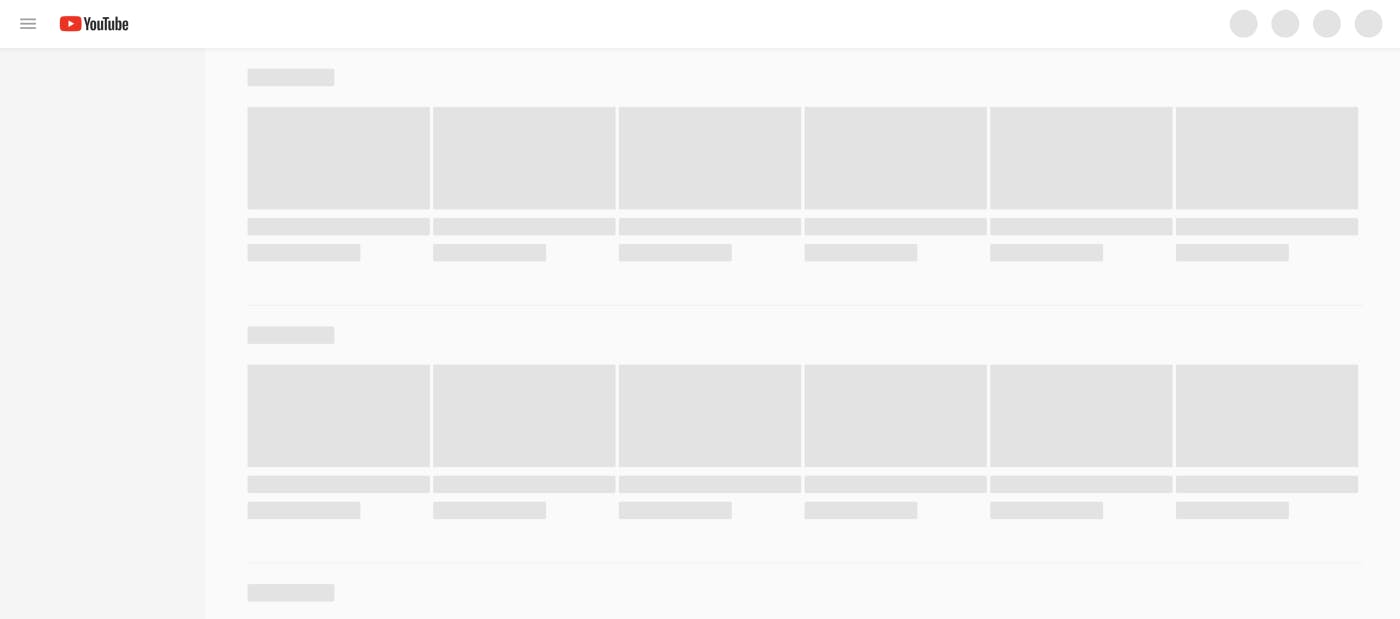
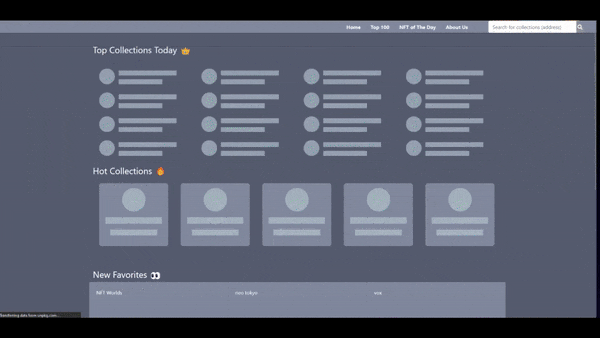
First, we will create and design our skeleton component. Here are some examples from popular sites:
Youtube
Option #1
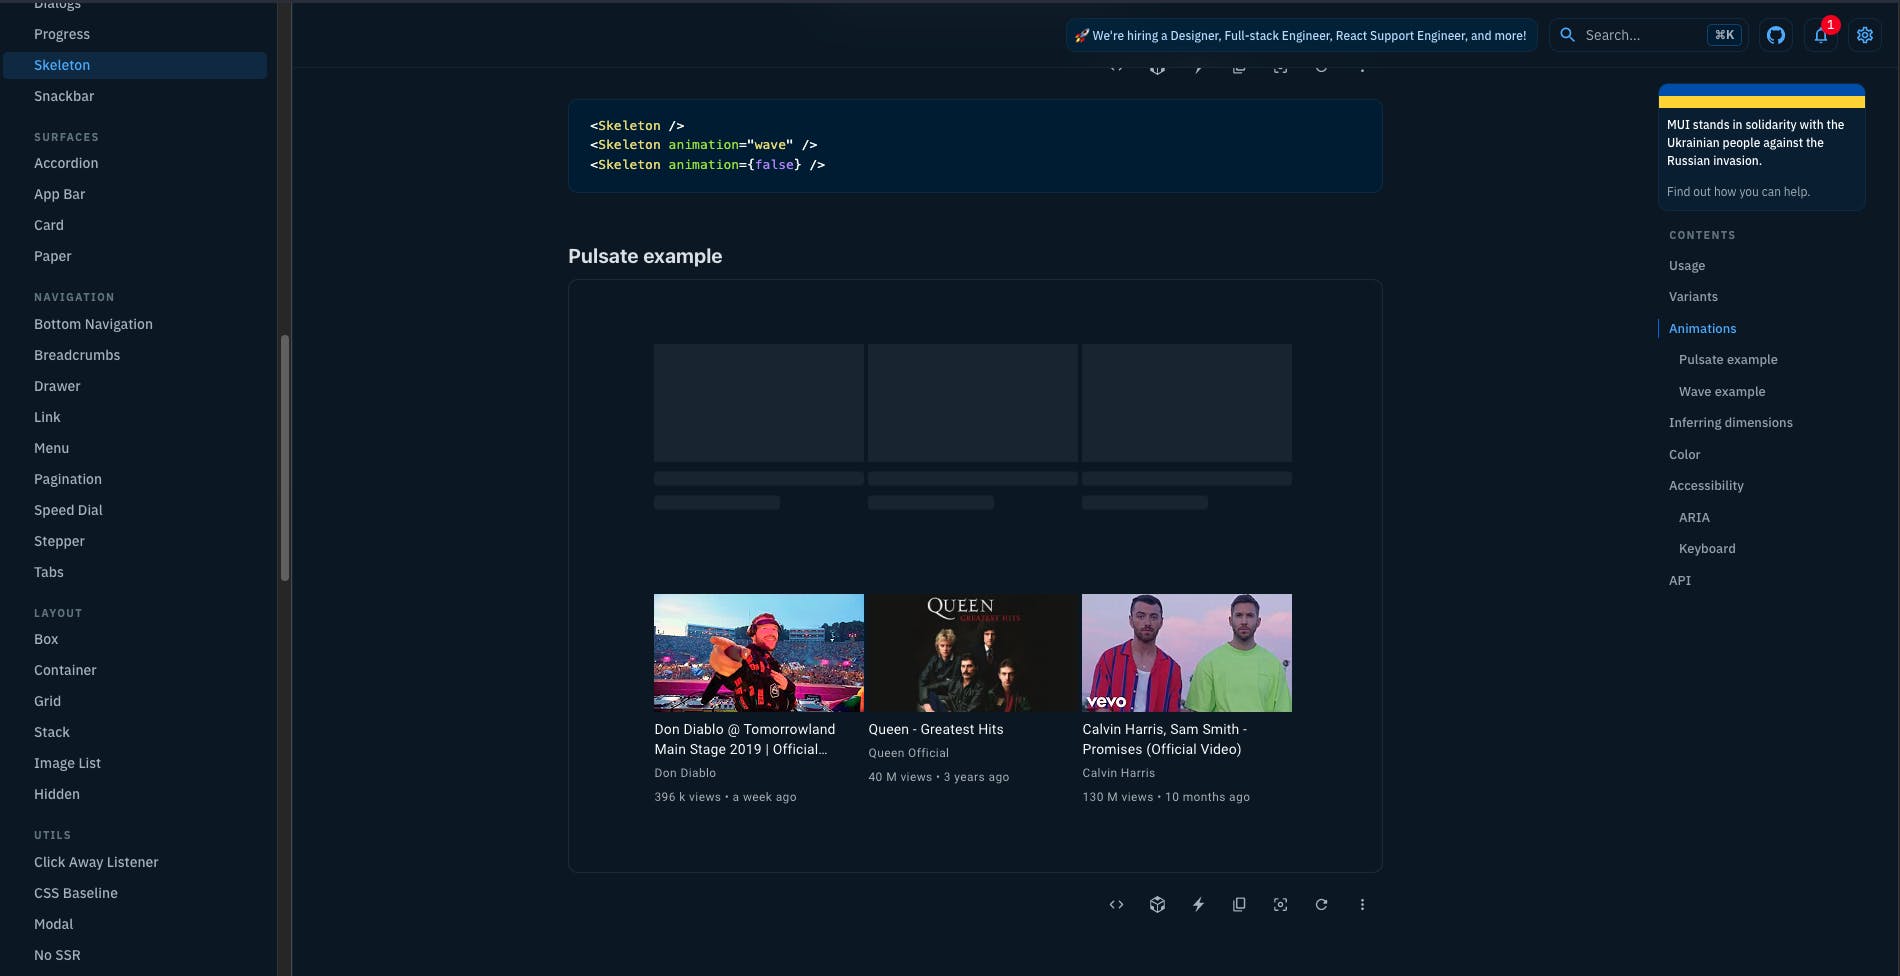
Use a UI Framework This method is much easier, just import the component. However, it does come at the cost of using an external library. For this example, I used the popular library, Material UI. I found it has more options than React Bootstrap, so I decided to use it in a recent project.
Go to the Material UI Documentation and go to the skeleton component. Explore your options and figure out what you want your skeleton to look like. Then import it into your React project in a new JS file.
Option 2
Create the components from scratch This method takes longer but gives you more flexibility. Let’s start with the color animation. Inside your CSS enter:
// This code changes the background color over 1s infinitely

. skeleton {
  opacity: 0.7;
  animation: skeleton-loading 1s linear infinite alternate;
}

@keyframes skeleton-loading {
  0% {
    background-color: hsl(200, 20%, 70%);
  }
  100% {
    background-color: hsl(200, 20%, 95%);
  }
}
Then create shapes that with HTML and CSS, here is an example:
.circle {
  height: 50px;
  width: 50px;
  border-radius: 50%;
}
Now apply the skeleton class to the shape and repeat this for each shape you need.
Conditionally rendering the skeleton loading
The final step is show the skeleton loading component until we get a response from the API. This can be easily done with the React hooks, useState and useEffect.
First create a loading state, by default it’s set to true.
const [isLoading, setIsLoading] = useState(true)
Import your skeleton component and put it next to the component you want the loading animation to occur on. Here’s an example:
   <div>
       <h3>My component</h3>
       <Skeleton />
       <div className=“container”>
            {display}
       </div>
   </div>
Now add this simple ternary statement that will display the skeleton animation while loading is true, and show your main component when it’s set to false. From the example above, it would look like this:
   <div>
       <h3>My component</h3>
       { isLoading ? <Skeleton /> :
       <div className=“container”>
            {display}
       </div>  }
   </div>
The finished product:
That’s how to set a loading animation on your website. If you enjoyed this guide or would like to see more, follow me on hashnode. Thanks for reading! If you have any questions regarding these loading animations, ask it in the comments, thanks! 😊